CMYK vs RGB: Understanding the Difference for Print and Digital Projects
When preparing your files for printing or digital use, understanding the difference between **CMYK** and **RGB** color modes is essential. Choosing the correct color mode ensures your designs look vibrant and accurate across all mediums. Here’s everything you need to know about CMYK vs RGB and how to use them effectively.
What is CMYK?
Definition
CMYK stands for **Cyan, Magenta, Yellow, and Black (Key)**. It is a subtractive color model used in **color printing**. The colors are created by combining varying percentages of these four ink colors on paper.
How It Works
- In CMYK, colors are produced by **subtracting light** from a white background. Each layer of ink reduces the amount of reflected light, creating darker tones.
- This color mode is ideal for physical prints, such as books, brochures, business cards, and packaging.
When to Use CMYK
- For all **print projects**.
- When designing materials like flyers, posters, magazines, and custom packaging.
- If you want your printed colors to match your digital design as closely as possible.
Preferred CMYK Profile
We recommend using the GRACoL2006_Coated1v2 profile for optimal print results.
What is RGB?
Definition
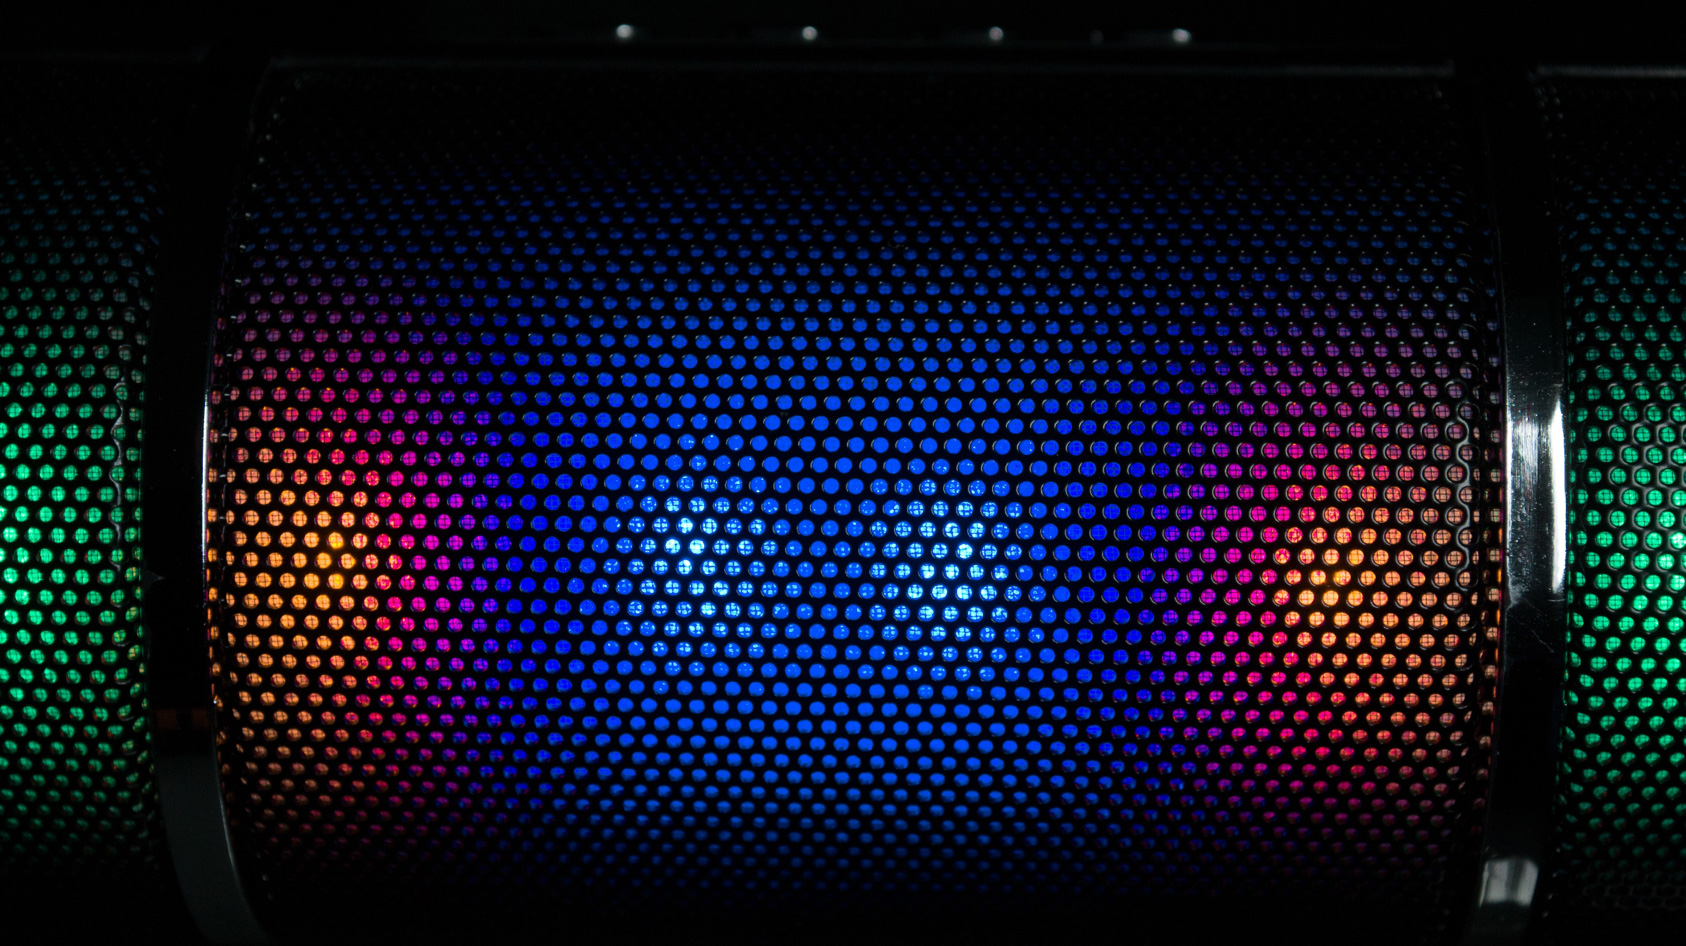
RGB stands for **Red, Green, and Blue**. It is an additive color model used for **digital screens**. Colors are created by combining different intensities of red, green, and blue light.
How It Works
- In RGB, colors are produced by **adding light** to a black screen. The more light added, the brighter the color becomes.
This color mode is designed for electronic displays, such as computer monitors, smartphones, tablets, and TVs.
When to Use RGB
- For **digital projects** like websites, social media graphics, presentations, and videos.
- When designing content that will only be viewed on screens.
Key Differences Between CMYK and RGB
Feature | CMYK | RGB |
|---|---|---|
Color Model | Subtractive | Additive |
Used For | Printing | Digital Displays |
Color Range | Limited (fewer colors available) | Wider (more vibrant colors available) |
Light Interaction | Subtracts light from white | Adds light to black |
File Types | PDFs for print, EPS, TIFF | JPG, PNG, GIF, SVG |
Why Does the Color Mode Matter?
The choice between CMYK and RGB affects how your colors appear in the final product:
- RGB Colors on Screens: RGB colors are brighter and more vibrant because they are created with light. However, these colors cannot always be reproduced in print.
- CMYK Colors in Print: CMYK colors are more muted because they rely on ink absorption and reflection. This ensures your printed materials look professional and consistent.
If you design in RGB but print in CMYK, your colors may appear duller or different than expected. To avoid this, always convert your files to CMYK before submitting them for printing.
How to Convert RGB to CMYK
Using Adobe Photoshop
1. Open your file in Photoshop.
2. Go to **Edit > Convert to Profile**.
3. Select **CMYK** as the destination profile and choose GRACoL2006_Coated1v2.
4. Save your file as a high-quality PDF.
Using Adobe InDesign
1. Open your document in InDesign.
2. Go to **Edit > Convert to Profile.
3. Choose CMYK and select the preferred profile (GRACoL2006_Coated1v2).
4. Export your file as a print-ready PDF.
Using Other Design Programs
Most design programs have similar options for converting color profiles. Refer to the software’s documentation for specific instructions.
Tips for Accurate Color Representation
1. Design in CMYK from the Start: If your project is intended for print, create your files in CMYK from the beginning to avoid surprises during production.
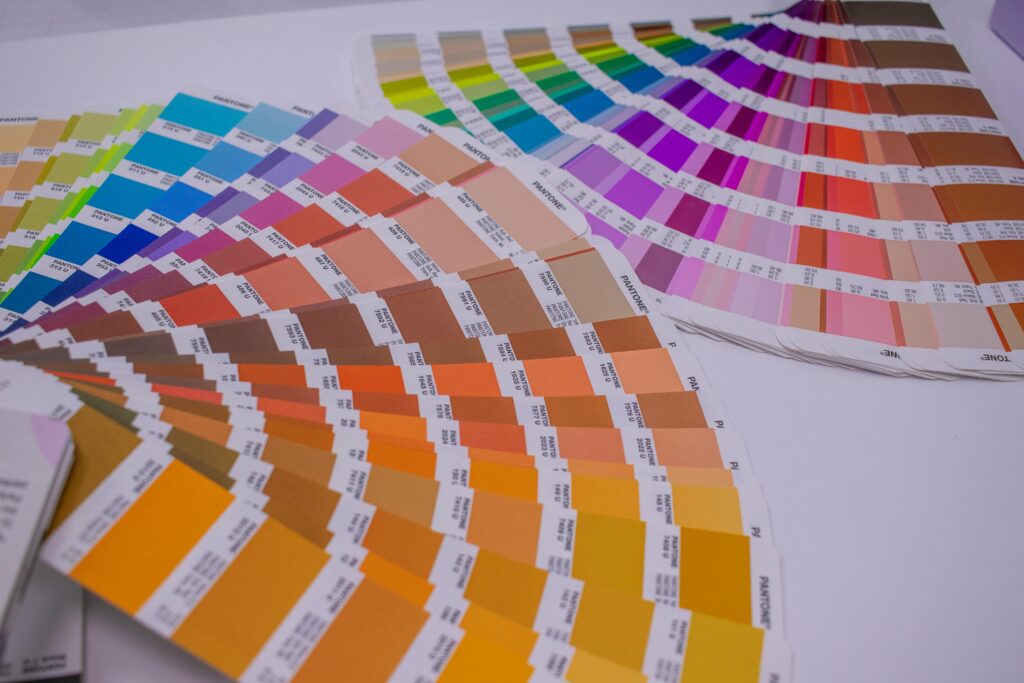
2. Use Pantone Colors for Precision: For exact color matching, consider using Pantone spot colors, especially for branding elements like logos.
3. Proof Your Colors: Always request a downloadable proof to see how your colors will appear in print.
4. Embed Color Profiles: Ensure your files include embedded color profiles to maintain consistency during printing.
Common Questions About CMYK and RGB
Why Do My Colors Look Different on Screen vs in Print?
Screens display colors in RGB, which are brighter due to emitted light. Printed materials use CMYK, which relies on ink and paper, resulting in more subdued tones.
Can I Print RGB Files?
Yes, but your RGB files will automatically be converted to CMYK during printing. This conversion may alter the appearance of your colors, so it’s better to convert them yourself beforehand.
What Happens if I Submit RGB Files for Printing?
Our system will automatically convert your RGB files to CMYK upon upload. However, we recommend converting them manually to ensure accuracy and avoid unexpected color shifts.
Bleed refers to the extra space added around the edges of your design to ensure no unprinted borders appear when your materials are trimmed to size. This area is highlighted by a blue line in the file upload section. Most projects require a 3mm bleed, but hardcover books need a larger bleed of 20mm on all sides, including the spine. If you’re unsure how to add bleed, our team can assist you or guide you through the process.
The trim line represents the final size of your printed piece and shows where the cutting will occur. It’s marked by a green line in the artwork preview. Keep in mind that this guideline won’t appear on the final product. For more details, visit our Bleed Support Page.
The hinge area refers to the sections on either side of the spine in bound items. These areas allow the book to open smoothly without damaging the spine. Properly accounting for the hinge area ensures durability and flexibility in your finished product.
You can review your order using these methods:
- Artwork Thumbnails: Check the sequence, layout, and positioning of your pages in the thumbnails provided.
- Downloadable Proof : Download a proof to identify any hidden issues that might not be visible in the preview. We strongly recommend reviewing this proof carefully before approving your order.
Before uploading your files, ensure the following:
- All required pages are present and in the correct order.
- Text is thoroughly proofread and free of spelling errors. Images have a resolution of at least 300 DPI.
- Fonts are embedded or converted to outlines to prevent formatting issues.
- Content stays within quiet areas and gutter margins for bound items.
Please note that we do not check for design, content, or copyright issues.You are responsible for ensuring you have the rights to all materials used in your project.
You can use any font you prefer, but make sure to embed it into your files. Alternatively, convert fonts to outlines or shapes to preserve their clarity. Once converted, fonts cannot be edited, so save a backup copy of your file beforehand. For free fonts, ensure they are licensed for commercial use if you plan to sell your printed materials.
We recommend high-quality PDF files for optimal results, but we also accept various other formats. Files can be submitted as single-page or double-page spreads. For detailed guidance, visit our File Submission Support Page .
Here’s an overview of the binding options we offer:
- Saddle Stitch (Staple Binding): Ideal for low-page-count projects like magazines, secured with metal staples.
- Perfect Binding: Uses adhesive to bind pages securely, creating a flat spine.
- PUR Binding: Similar to perfect binding but uses a stronger adhesive for increased durability.
- Wiro Binding: Features a spiral coil that allows pages to rotate 360 degrees and lie flat.
- Hardcover Binding: Provides a sturdy, non-flexible cover supported by heavy-duty boards.
- Layflat Binding: Ensures seamless double-page spreads and allows every page to lie flat when opened. For more information, visit our Binding Support Page .
Design your files in CMYK (Cyan, Magenta, Yellow, Black) mode and use our preferred color profile: GRACoL2006_Coated1v2. Full-color printing combines CMYK inks to create vibrant images. Note that colors may appear differently on screen (RGB) compared to print. If you’re unsure how to convert RGB to CMYK, our system can handle this automatically during upload.
Select the greyscale option in theQuote Calculator and ensure your files are set to a resolution of 300 DPI.
Use our recommended color profile: Dot Gain 15%. For deep black tones, refer to our Standard Black vs Rich Black Guide .
Resolution measures the detail in an image. For sharp prints, images should have a resolution of at least 300 DPI. Lower resolutions may result in pixelation. Learn more about image resolution on our Support Page .
Yes, you can unconfirm your order to edit your files or adjust specifications. However, this will delay production, and we’ll provide a revised delivery date. Once an order enters production, changes are no longer possible.
Yes! Select the “Custom Size” option in the Quote Calculator and enter your desired dimensions. Keep in mind that sizes must align with the printing press plates used during production.
Spot UV applies a glossy coating to specific areas, while foiling creates a metallic effect. To include these finishes:
- Add the desired finish in the Quote Calculator.
- Upload a separate file indicating where the finish should be applied.
- Follow the instructions on our Spot UV and Foiling Support Pages .
Your choice depends on your project’s purpose and design. Here’s a quick overview:
- Half Fold: Simple and effective for basic projects.
- Roll Fold: Great for organizing large amounts of text or graphics.
- Z-Fold: Perfect for dividing content into equal panels.
- Gate Fold: Ideal for promotional materials with impactful visuals.
- Cross Fold: Suitable for posters, maps, or infographics.